Emulator V6 Upgrade Standard to Pro
Upgrade you standard SRM emulator V6 to the PRO version by adding this additional PCB.
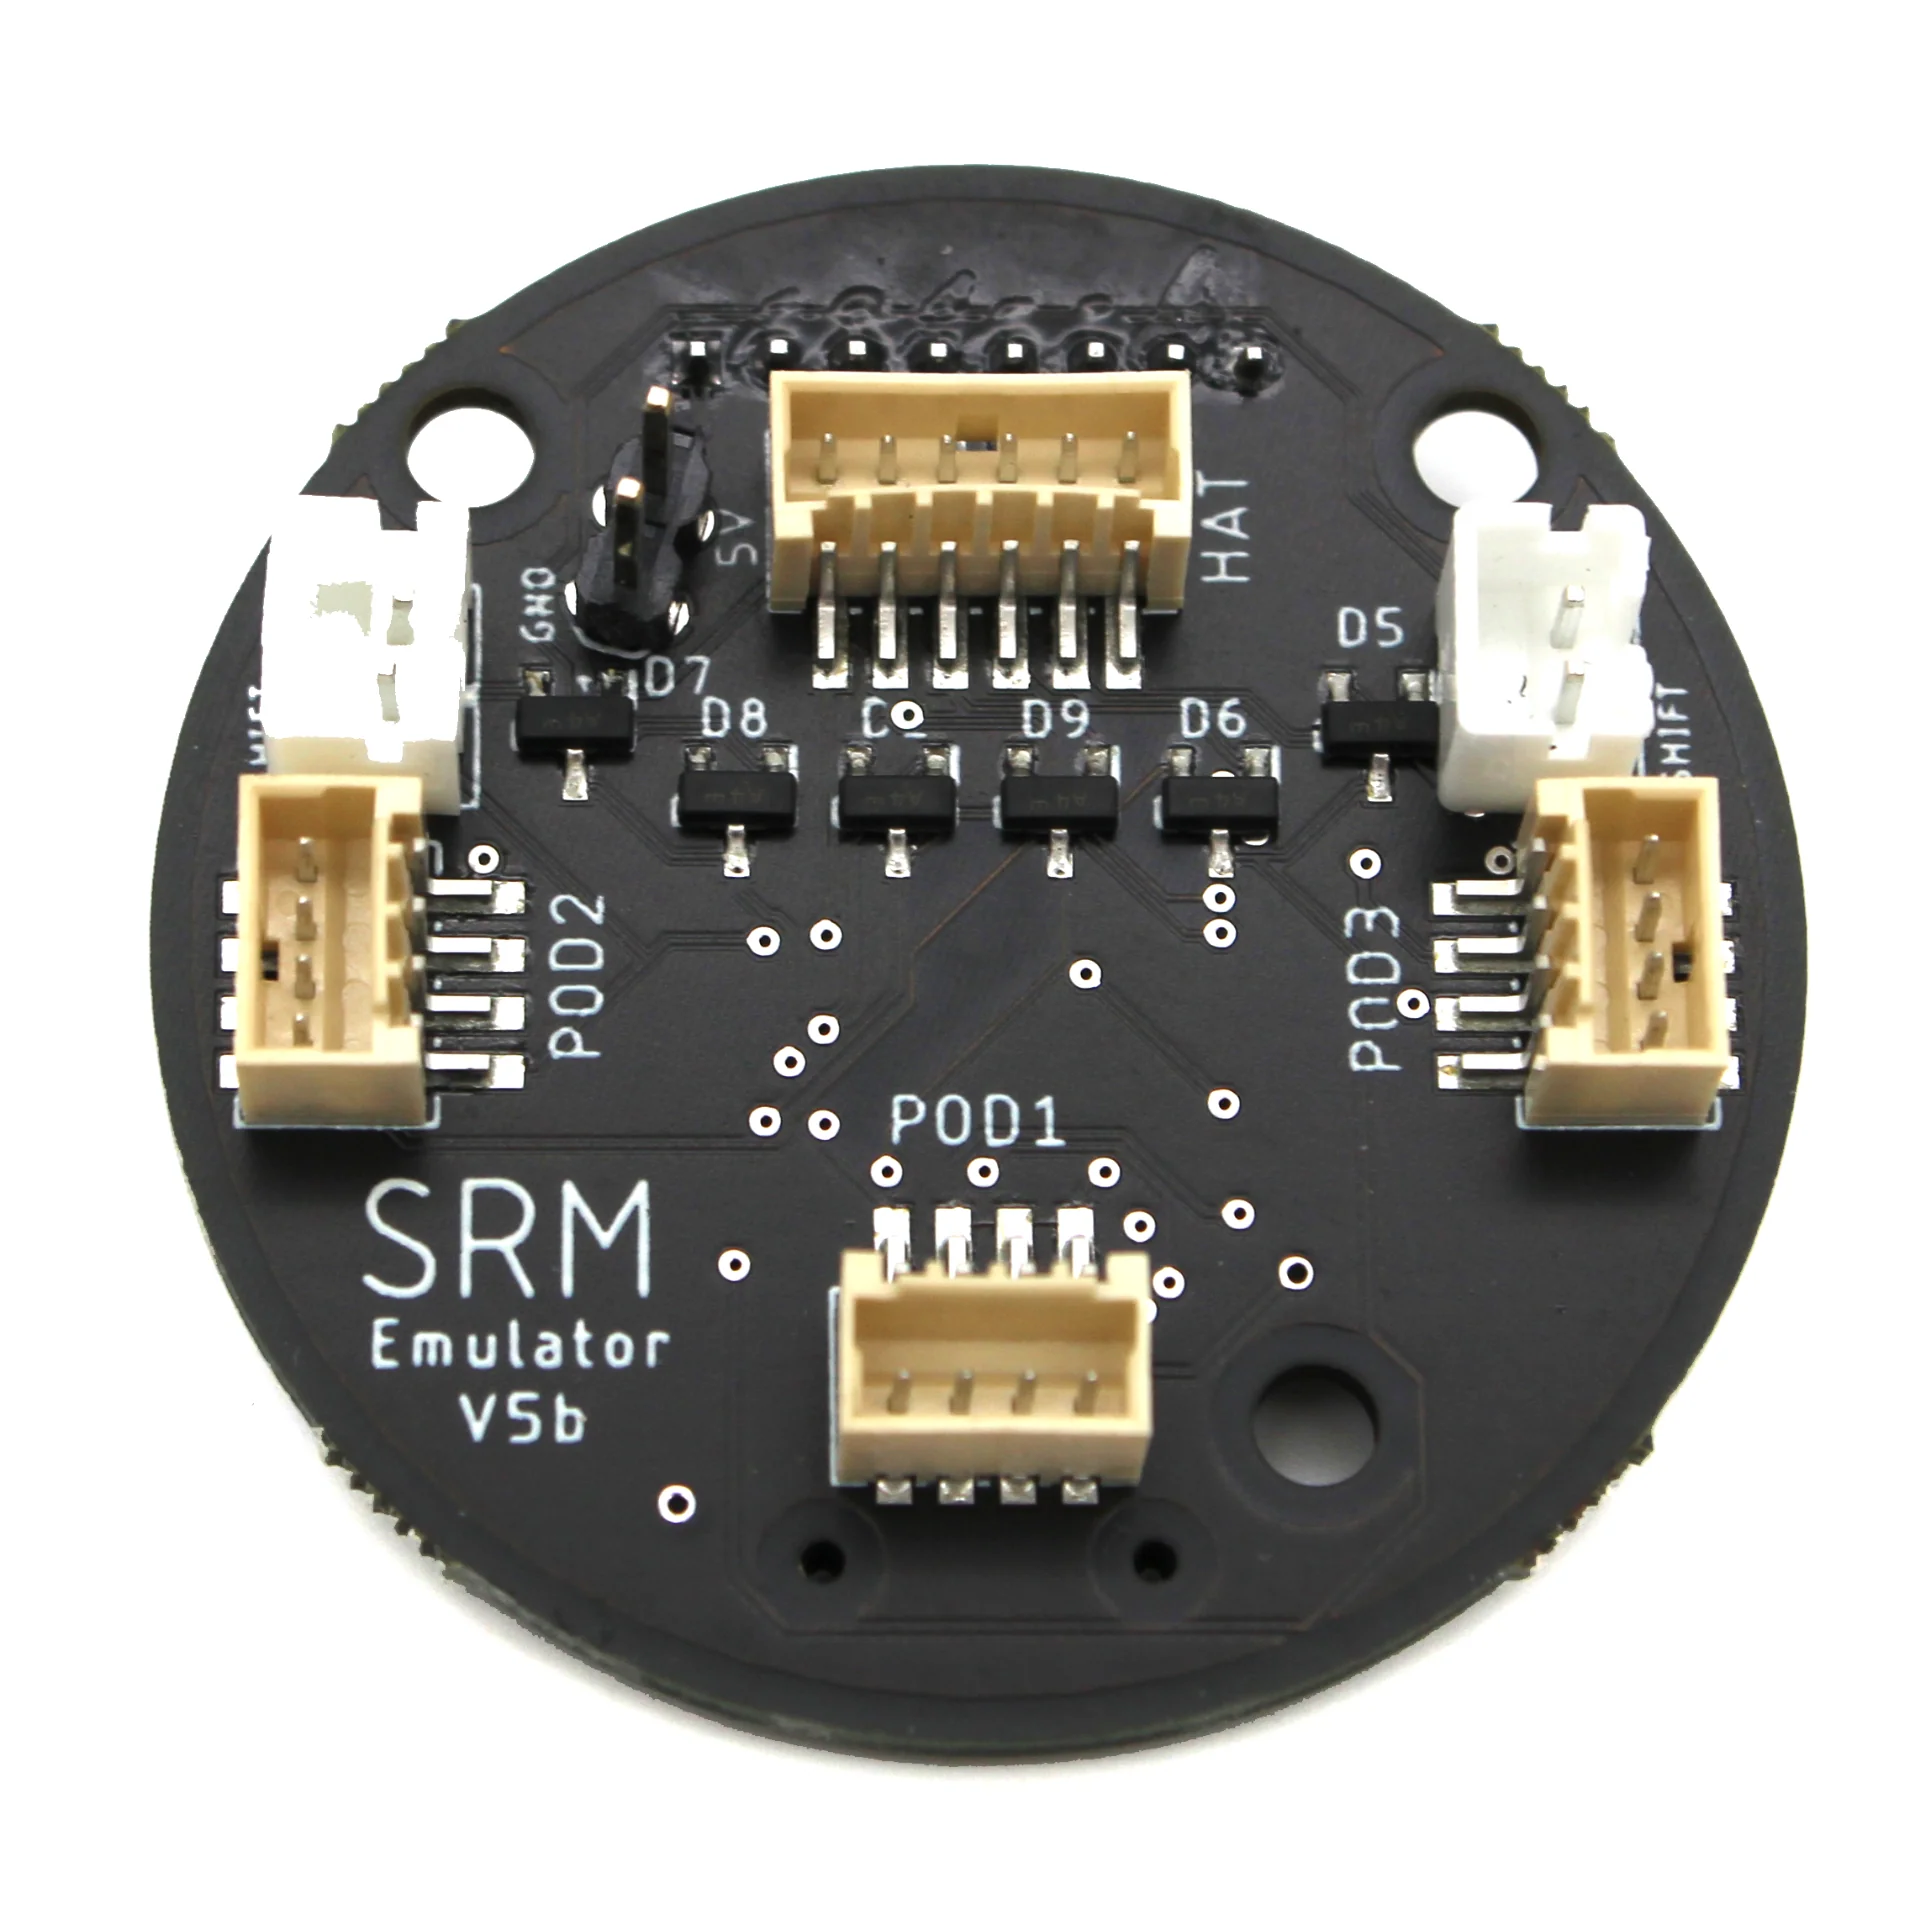
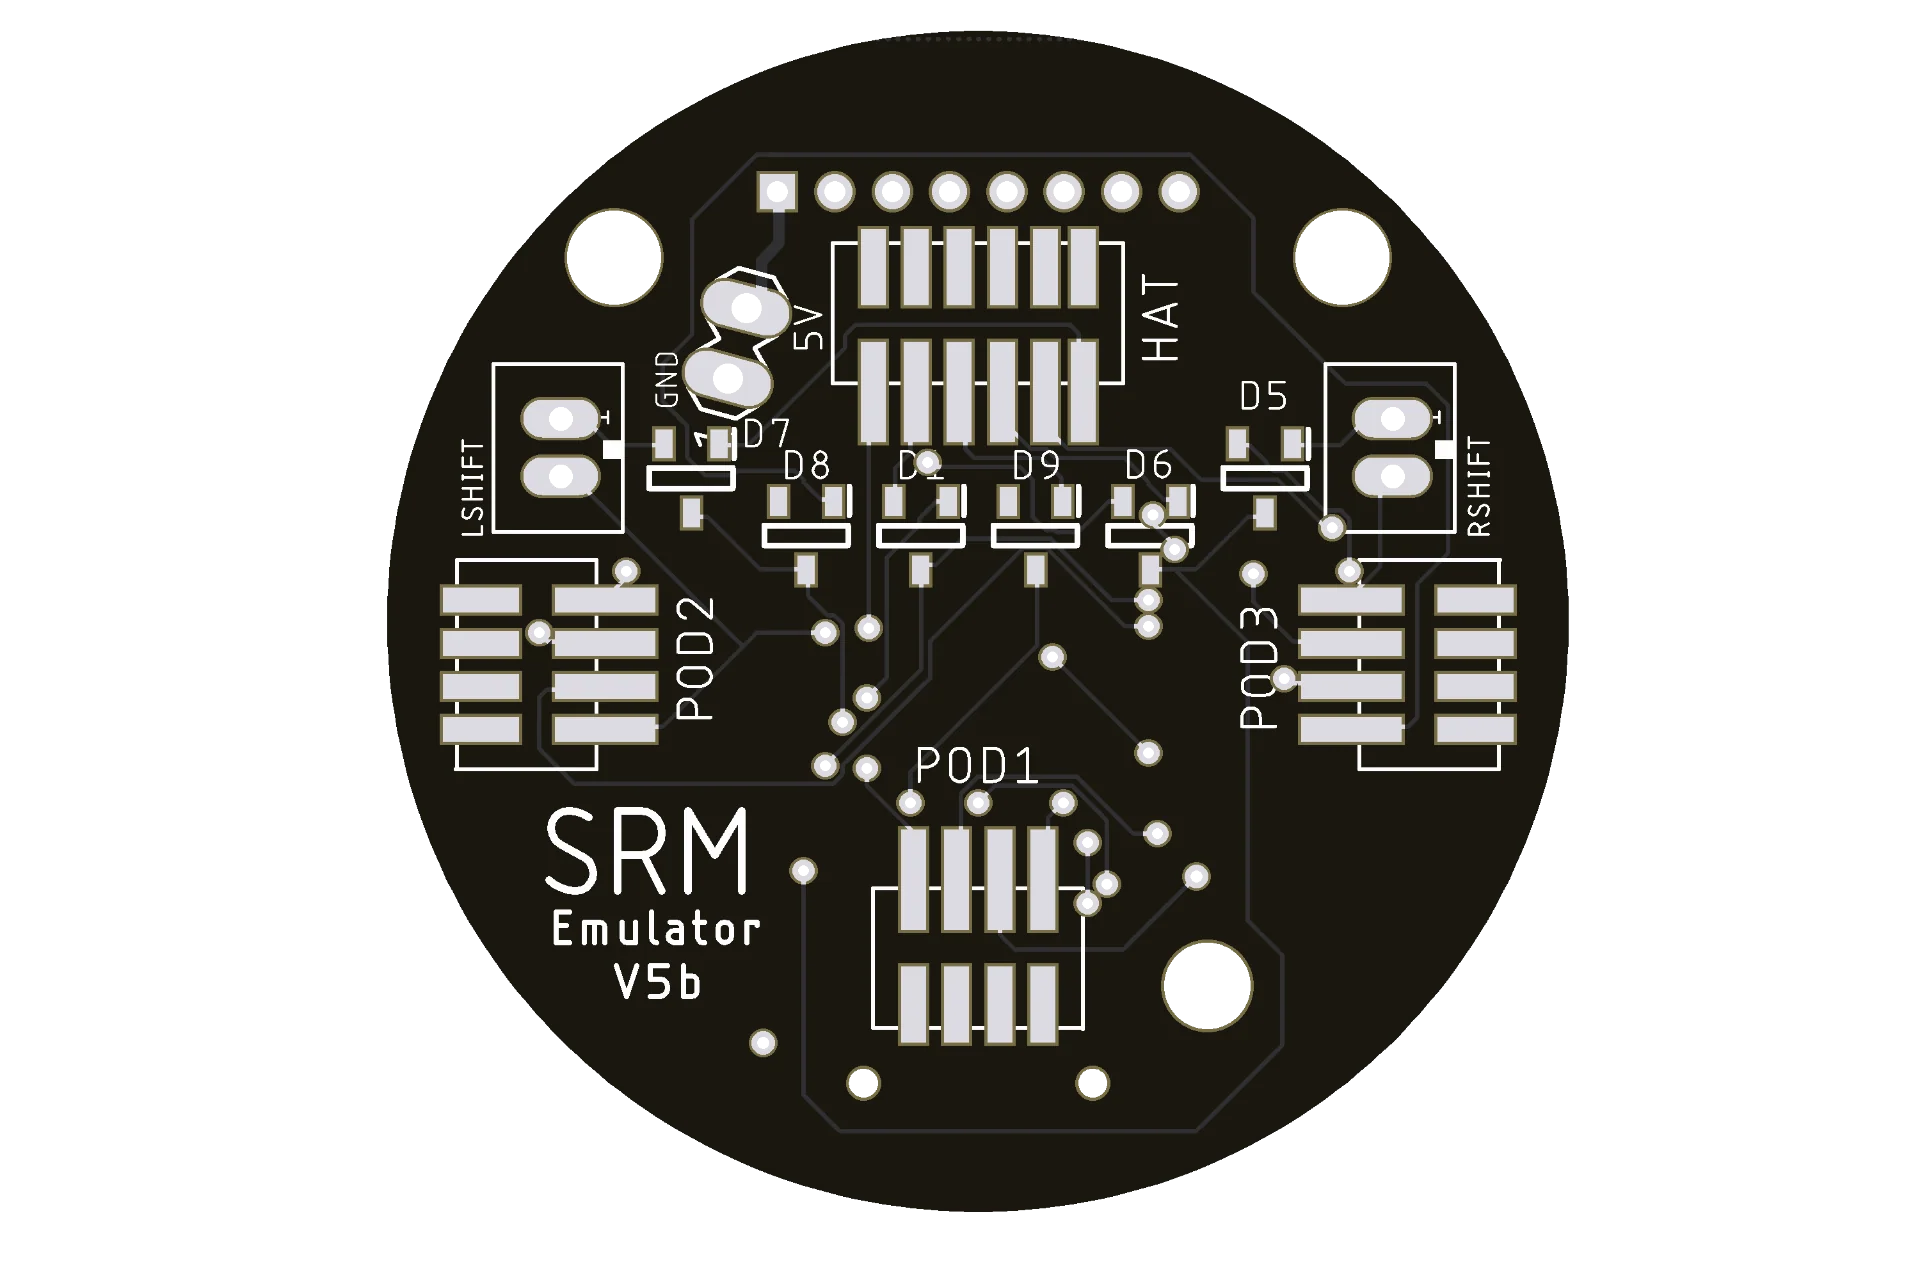
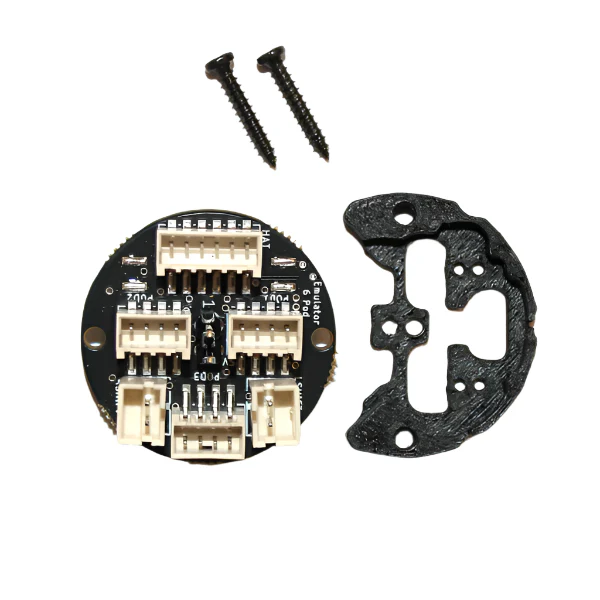
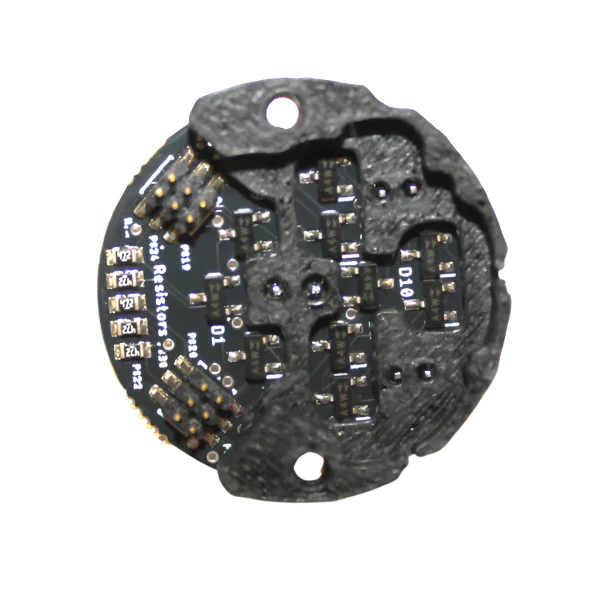
The PCB in this kit adds headers that allow you to add buttons, gear shifters and an SRM Hat Switch. There is also a 5V power header so you can power equipment.
- Pin Header PCB.
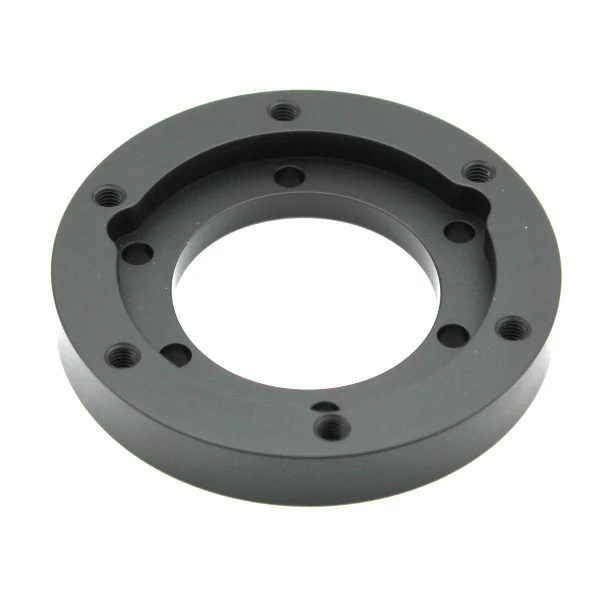
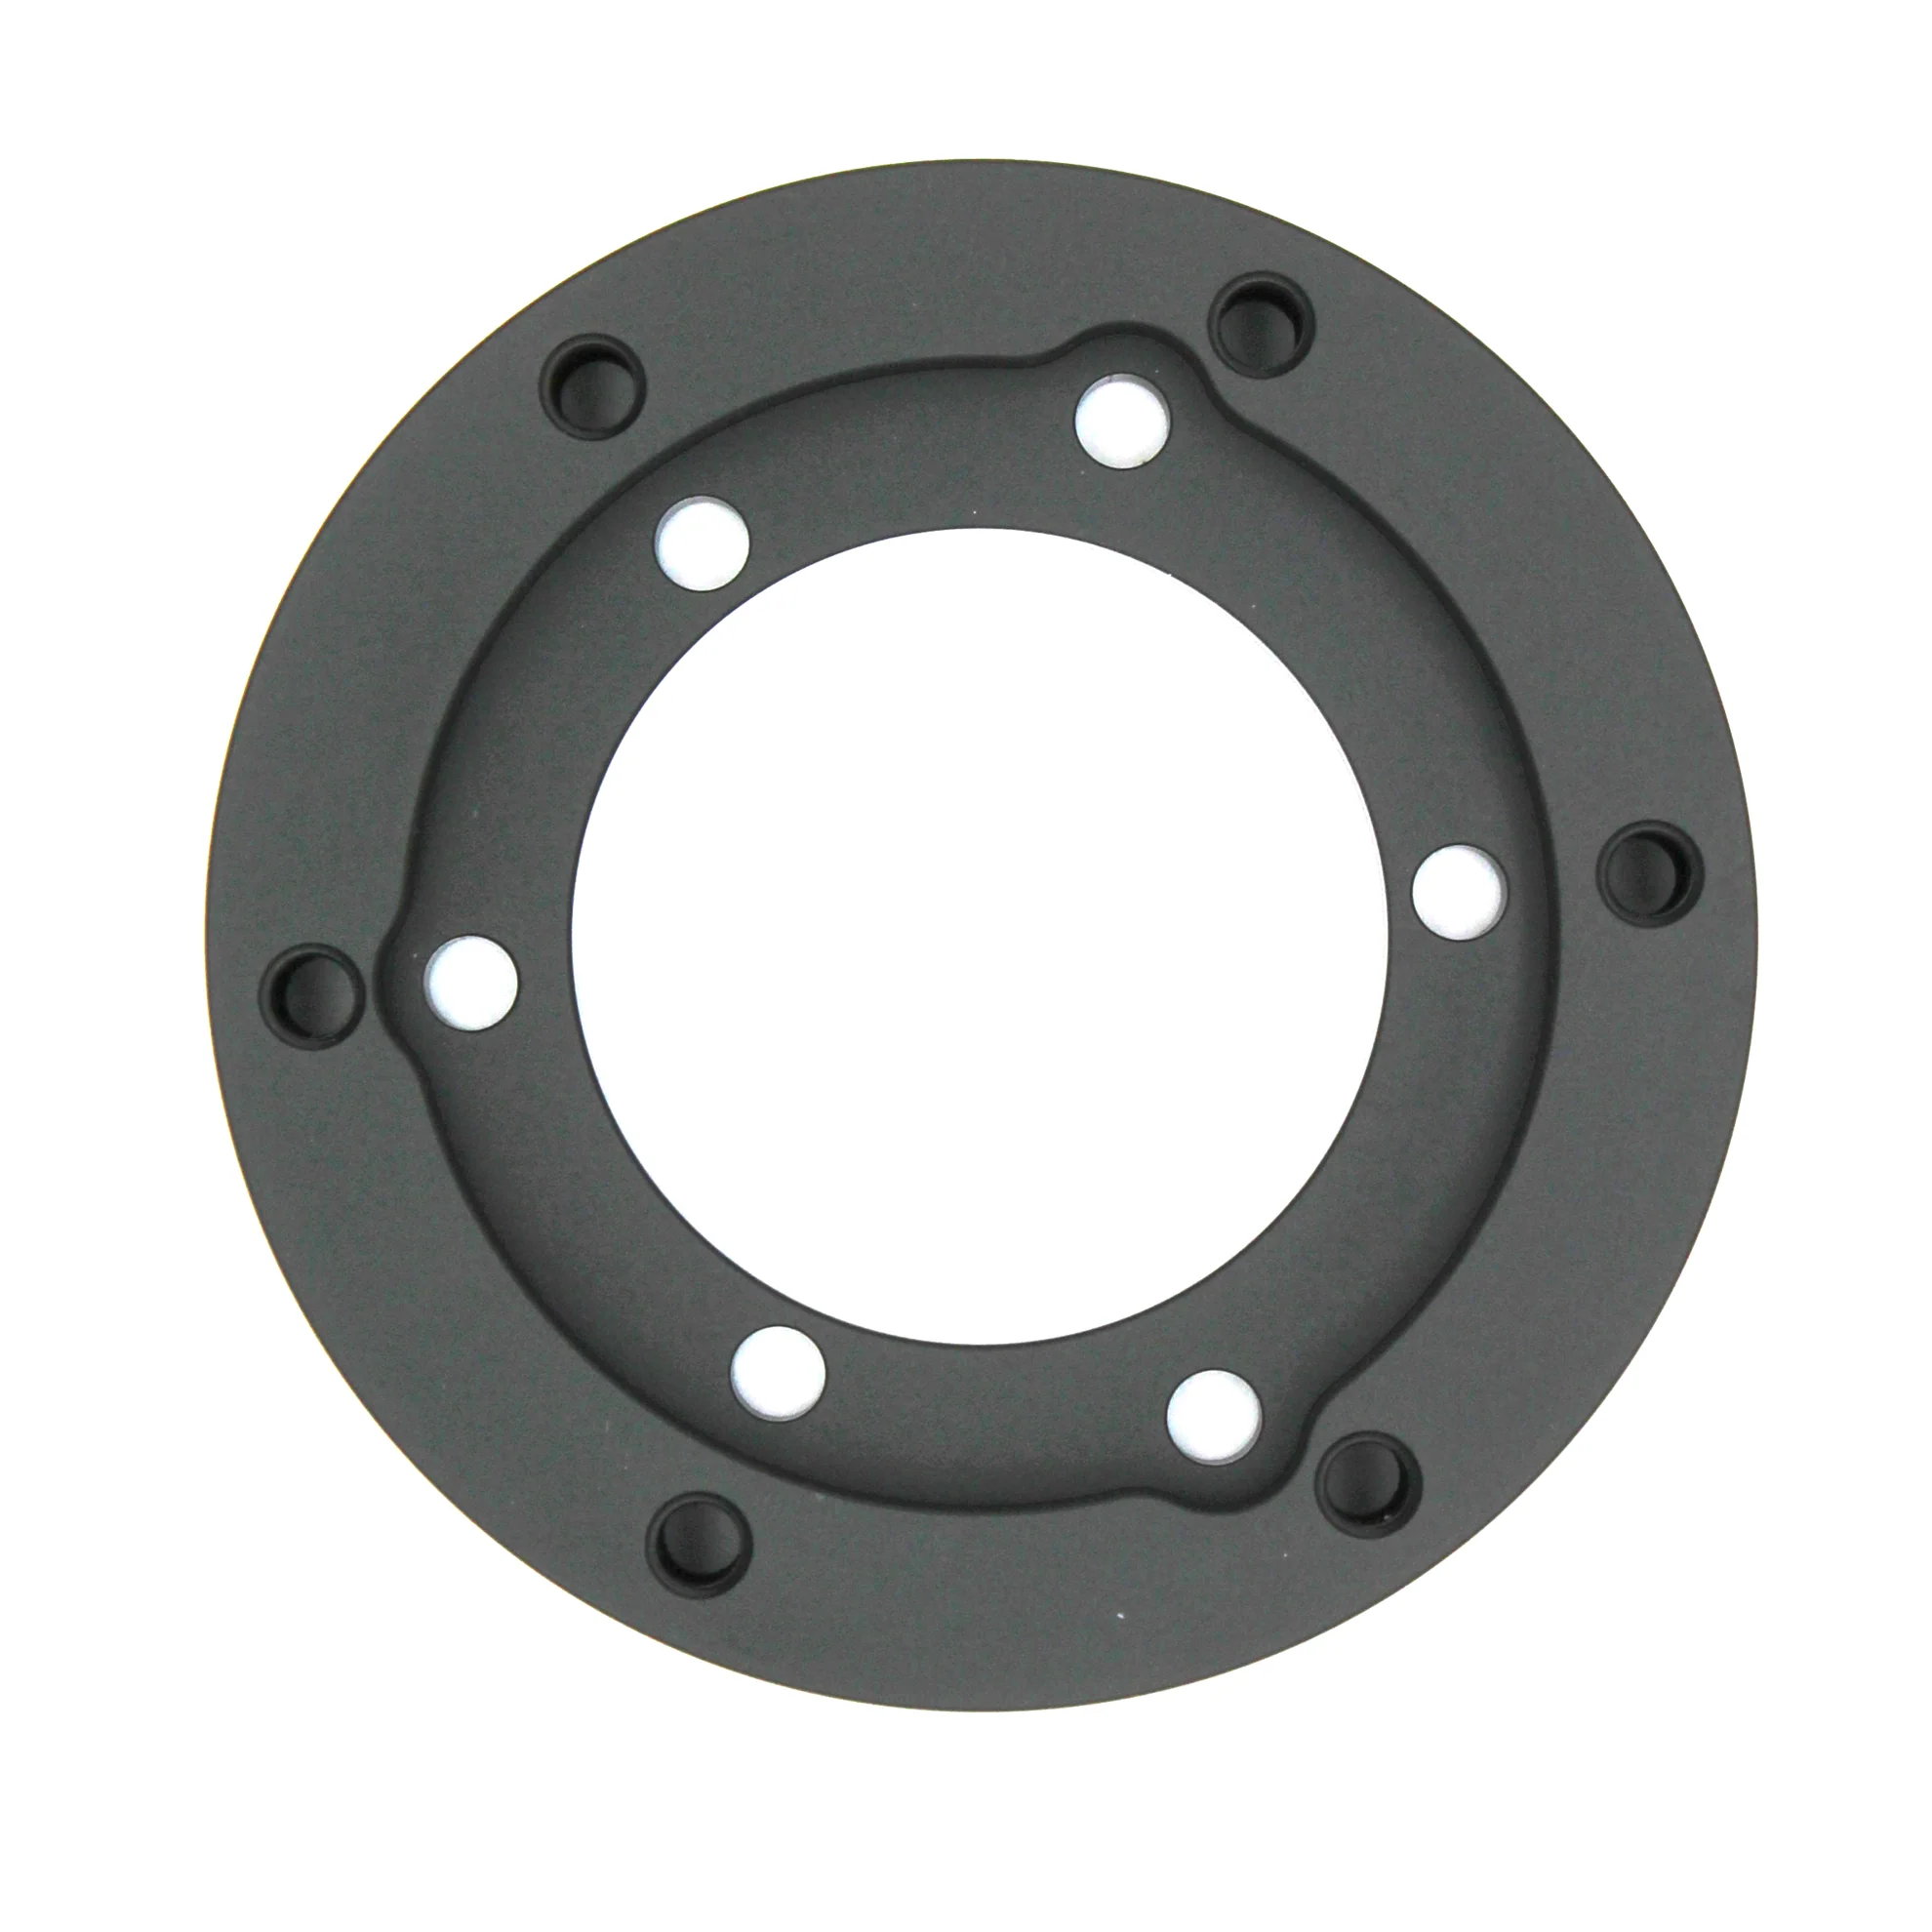
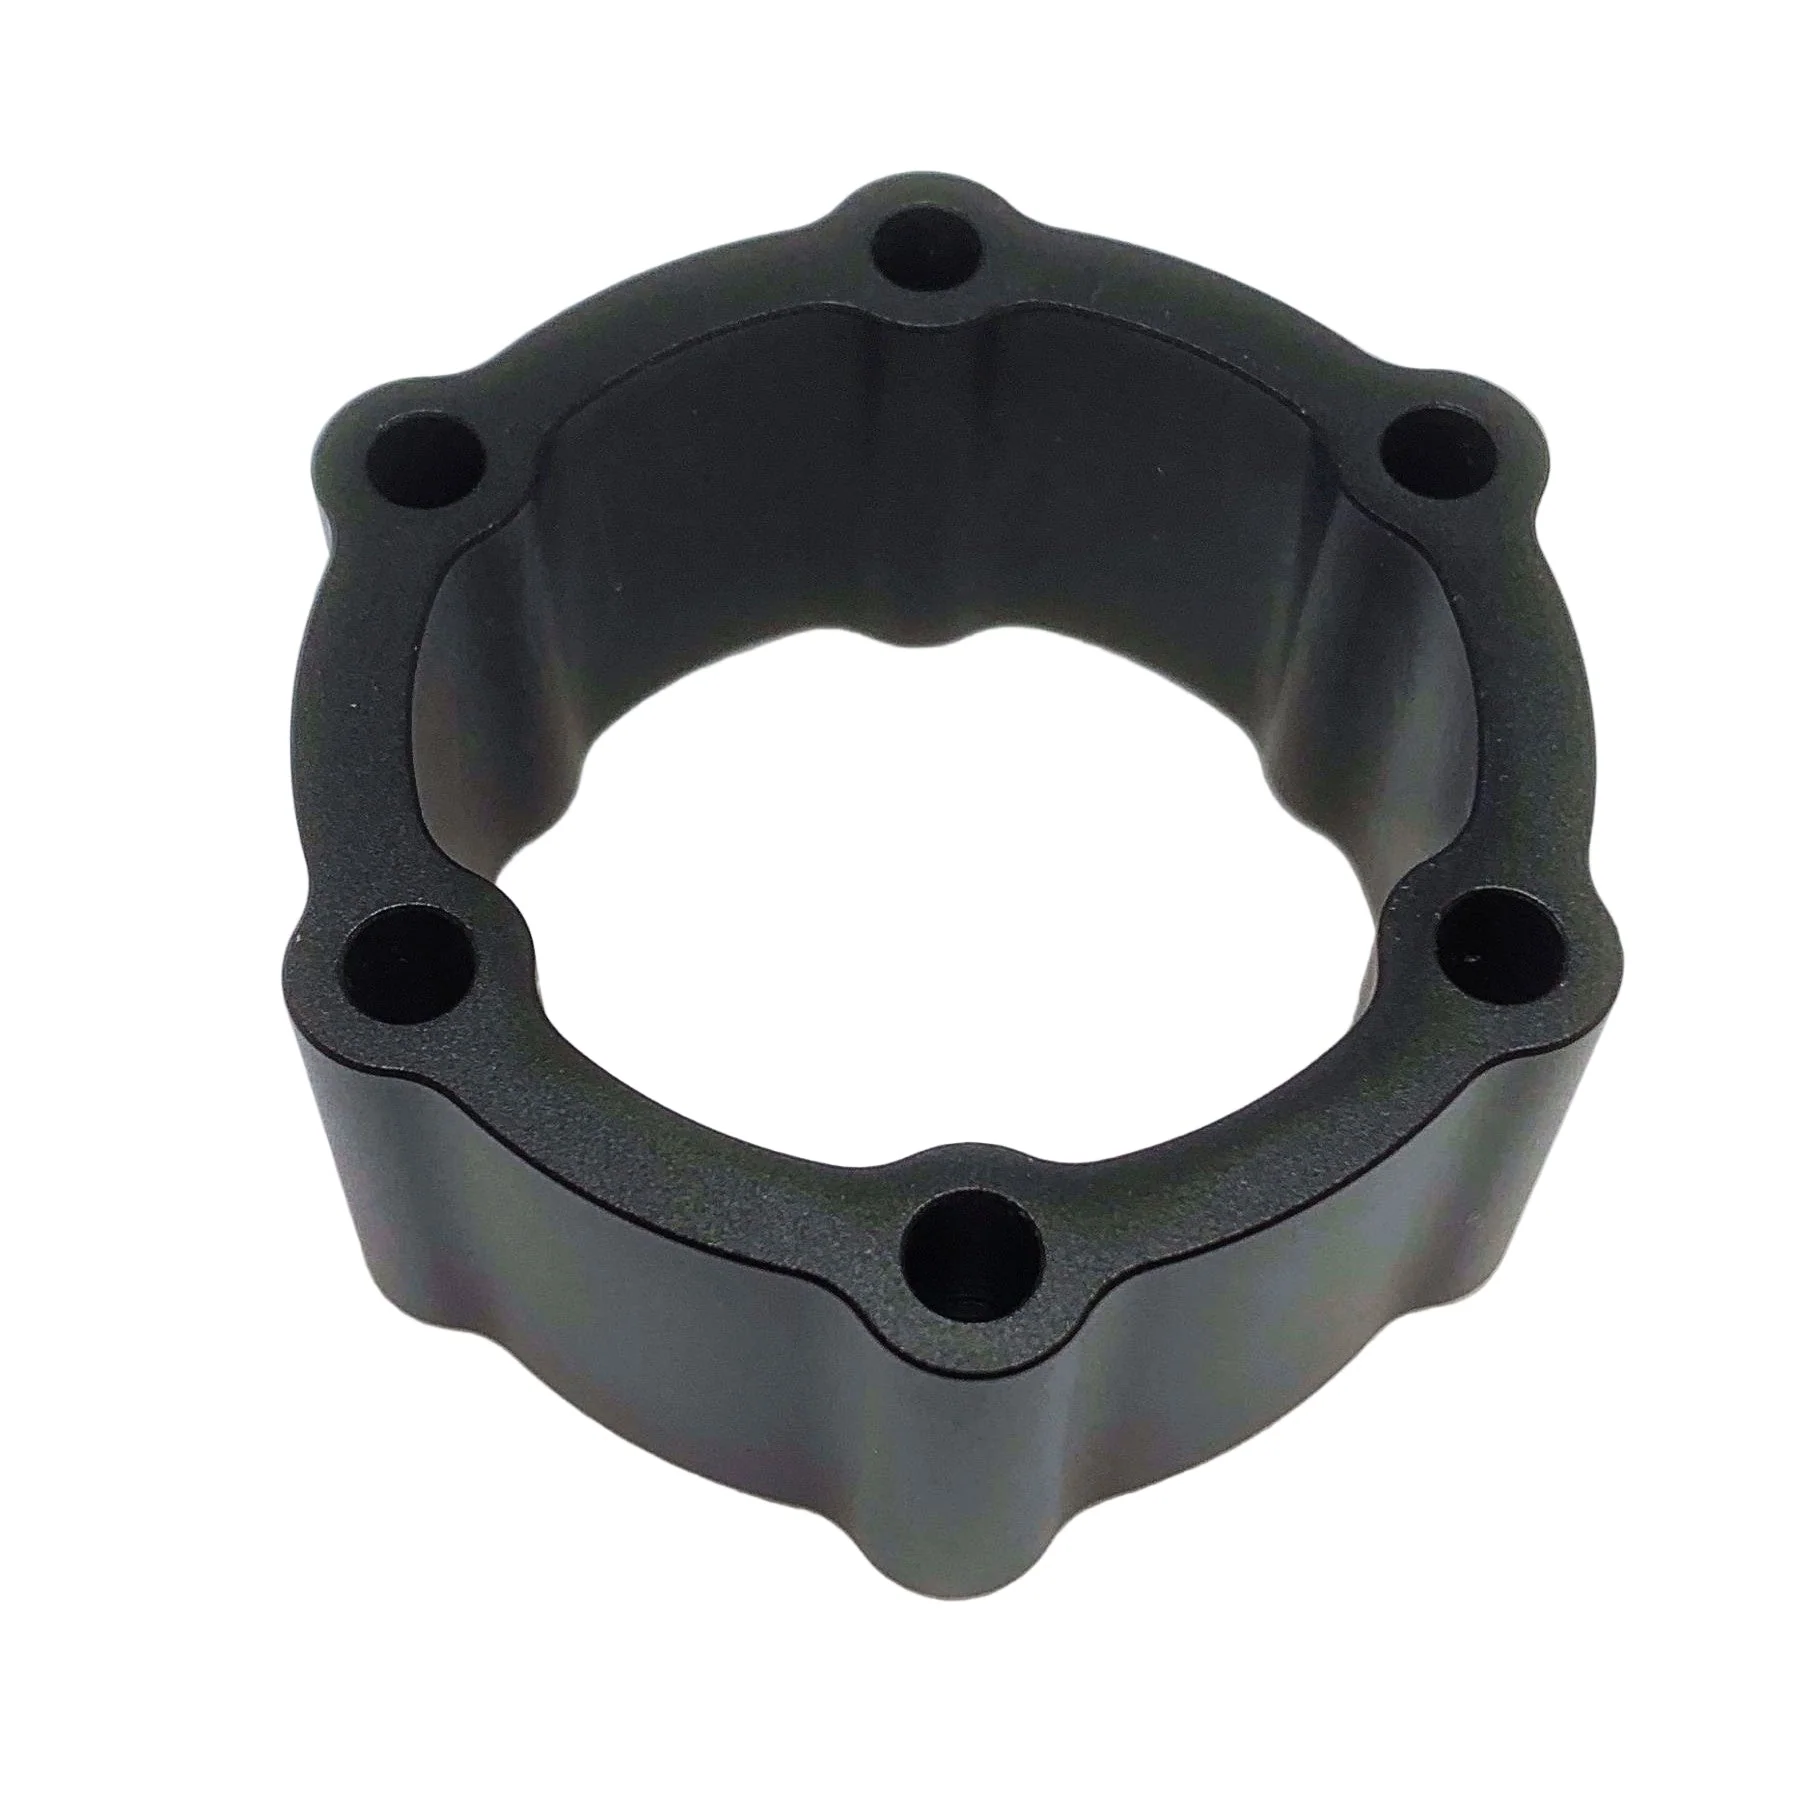
- 3D Printed spacer.
- Longer M2 bolts.
To fit this you need to remove the screws holding the main emulator to it's 3D printed mount and then fit this with the adapter and use the longer screws supplied.
It is easier to remove the Emulator PCB from the Aluminium case first. I will do an instruction video shortly to show how to do this. Please chase me if you need it and I've still not published it.
Product Information
Product Information
Shipping & Returns
Shipping & Returns
Emulator V6 Upgrade Standard to Pro
Emulator V6 Upgrade Standard to Pro
Upgrade you standard SRM emulator V6 to the PRO version by adding this additional PCB.
The PCB in this kit adds headers that allow you to add buttons, gear shifters and an SRM Hat Switch. There is also a 5V power header so you can power equipment.
- Pin Header PCB.
- 3D Printed spacer.
- Longer M2 bolts.
To fit this you need to remove the screws holding the main emulator to it's 3D printed mount and then fit this with the adapter and use the longer screws supplied.
It is easier to remove the Emulator PCB from the Aluminium case first. I will do an instruction video shortly to show how to do this. Please chase me if you need it and I've still not published it.
Original: $203.80
-70%$203.80
$61.14Product Information
Product Information
Shipping & Returns
Shipping & Returns
Description
Upgrade you standard SRM emulator V6 to the PRO version by adding this additional PCB.
The PCB in this kit adds headers that allow you to add buttons, gear shifters and an SRM Hat Switch. There is also a 5V power header so you can power equipment.
- Pin Header PCB.
- 3D Printed spacer.
- Longer M2 bolts.
To fit this you need to remove the screws holding the main emulator to it's 3D printed mount and then fit this with the adapter and use the longer screws supplied.
It is easier to remove the Emulator PCB from the Aluminium case first. I will do an instruction video shortly to show how to do this. Please chase me if you need it and I've still not published it.